Customizing MaxAI
The MaxAI package includes prompt templates. Prompt templates are use case-driven and provide the information (such as a goal, constraints, and brand guidelines) that helps Agentforce generate a high-quality response.
You can replace the prompt templates in the MaxAI package with your own, but your templates must replicate certain elements of the default templates if they are to work effectively with Altify. For this reason we recommend that you copy the relevant default prompt template and use it as the starting point for your new, customized template.
Tip: in terms of customizing Agentforce's responses to account/row detail questions, a quick alternative to the configuration outlined in this topic is to populate the Question_Prompt field on the Altify AM Account Question records for the relevant questions. For more information, see Creating prompts for account/row detail questions.
Customizing MaxAI requires the following steps:
Copy a default prompt template
-
In Setup, find and select Prompt Builder.
-
Select the relevant prompt template from the list below (all three default prompt templates are of the category 'Custom Managed-Installed'):
-
'Identify missing Altify Account Relationship map contacts' - informs Agentforce's responses to relationship map queries (for accounts and opportunities).
-
'Generate Account insights' - informs Agentforce's responses to insight map queries (for accounts and opportunities).
-
'Answer Altify Account Questions' - informs Agentforce's responses to account details queries.
-
-
On the Prompt Builder screen, copy all the content within the Prompt Workspace.
You will requires this content when creating your own prompt template.
Create a prompt template
The following process includes the configuration that is mandatory for your prompt template to work with Agentforce and Altify. For wider considerations, see Create a Prompt Template and its associated articles in the Salesforce Help.
-
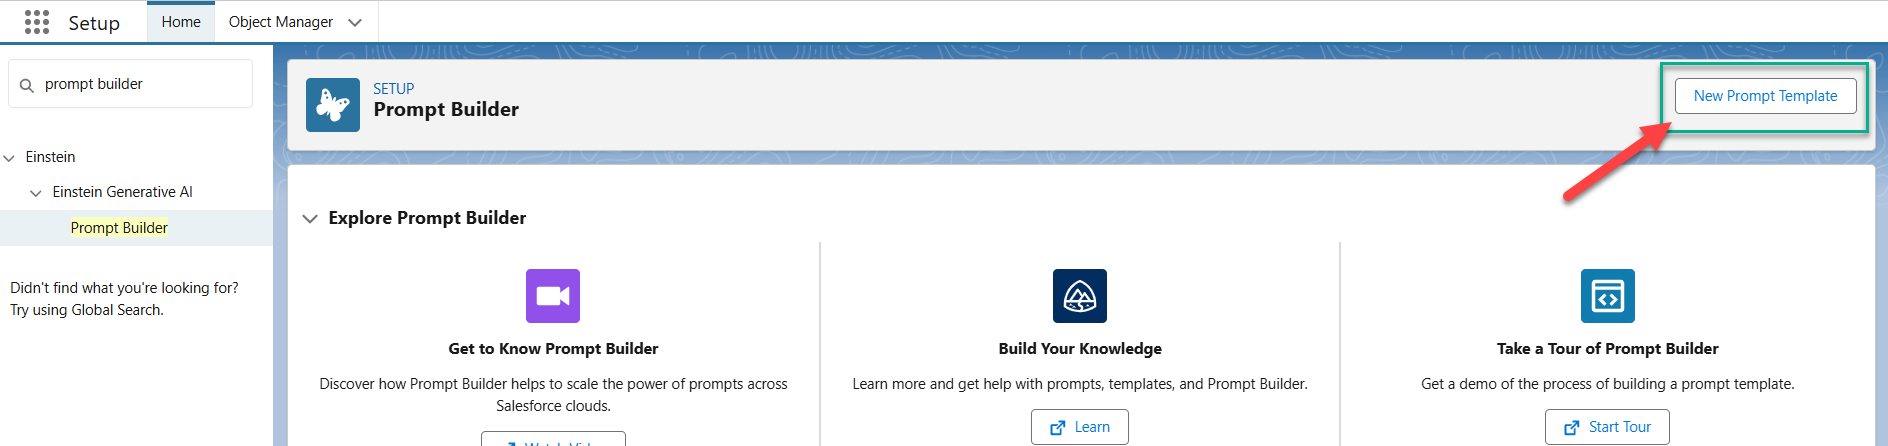
In the Setup menu, find and select Prompt Builder.
-
Click New Prompt Template (as indicated below).
-
On the New Prompt Template dialog, be sure to include the following info:
-
Prompt Template Type - must be set to 'Flex'
-
In the Define Sources section, you need add one or two sources, depending on the default prompt template that you are replacing (expand the appropriate heading to view):
 For a prompt template that will identify missing relationship map contacts (two sources):
First source
-
Name: 'Account'
-
API Name: 'Account' [this is populated automatically]
-
Source Type: 'Object'
-
Object: 'Account'
Second source
-
Name: 'MappedContacts'
-
API Name: 'MappedContacts' [this is populated automatically]
-
Source Type: 'Free Text'
For a prompt template that will generate insights for an insight map (one source)
-
Name: 'Account'
-
API Name: 'Account' [this is populated automatically]
-
Source Type: 'Object'
-
Object: 'Account'
For a prompt template that will complete account details (three sources):
First source
-
Name: 'Account'
-
API Name: 'Account' [this is populated automatically]
-
Source Type: 'Object'
-
Object: 'Account'
Second source
-
Name: 'AccountQuestionsToAnswer'
-
API Name: 'AccountQuestionsToAnswer' [this is populated automatically]
-
Source Type: 'Free Text'
Third source
-
Name: 'AltifyAccountQuestions'
-
API Name: 'AltifyAccountQuestions' [this is populated automatically]
-
Source Type: 'Free Text'
-
-
-
Click Next.
-
On the Prompt Builder screen, paste the content copied from the default template into the Prompt workspace.
-
Update the content the template to suit your requirements but please note the following: your prompt template must retain the section of content that begins and ends with a line of quotation marks (""") - as indicated in the example below.
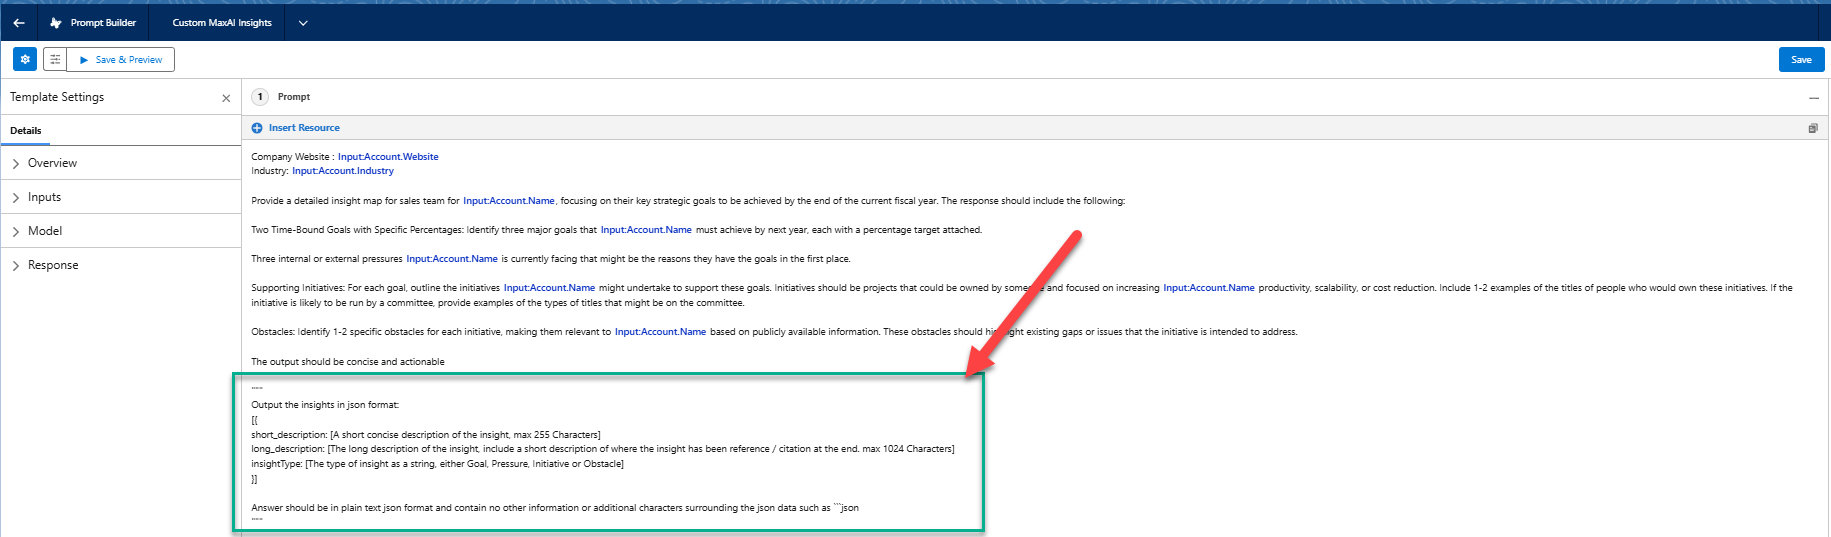
This section, which appears at the end of the pasted content, is essential as it instructs Agentforce how to format its responses. Otherwise, Agentforce will be unable to respond to queries regarding Altify data.
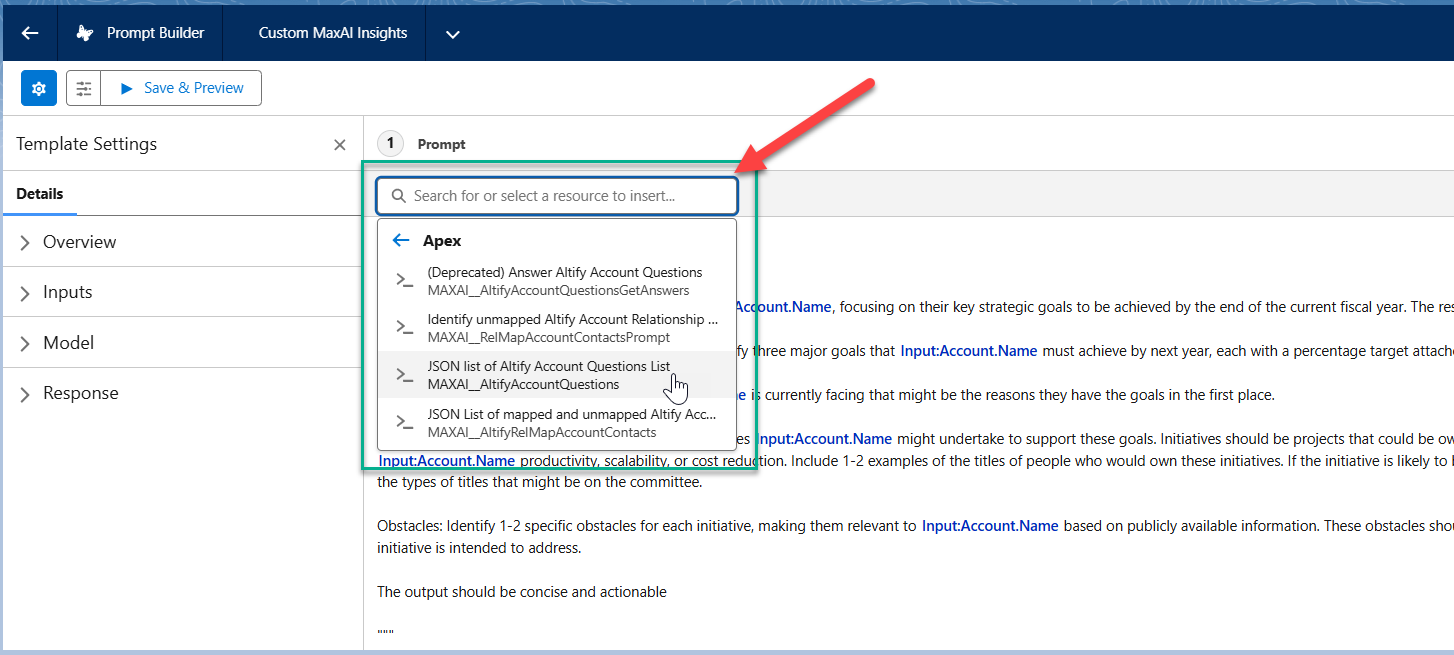
Altify makes the following Apex Resources available to help ground your prompt template:
-
JSON list of Altify Account Questions List
-
JSON List of mapped and unmapped Altify Account Relationship Map contacts
-
Identify unmapped Altify Account Relationship Contacts
-
-
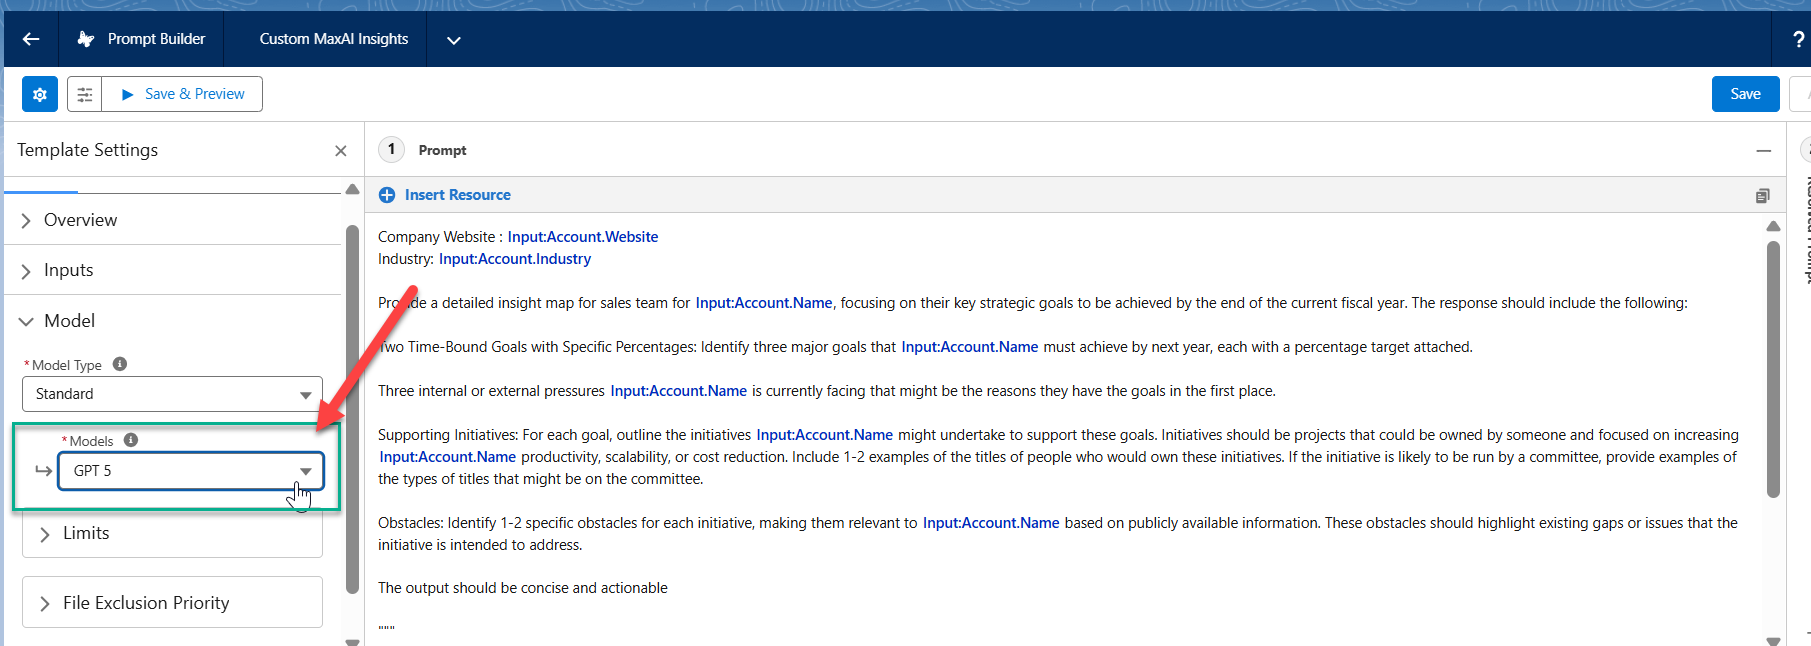
Next, set the Model (LLM) that is used by your prompt template.
You may require a model that can better handle the size of the prompt you are sending to the LLM. For example, a prompt template that refers to related lists may require a greater number of tokens than are provided with 'OpenAI GPT 4' (8,192)
Below are some helpful links to consider when selecting a model for your custom prompt template:
-
Prompt Builder Limits in the Salesforce help (this link is provided in the Prompt Builder UI)
-
Salesforce have also created a dashboard for comparing the performance of LLM models.
-
-
Click Save & Preview to proceed to the testing phase outlined below.
Test and activate your prompt template
To test the efficacy of your prompt template, do the following:
-
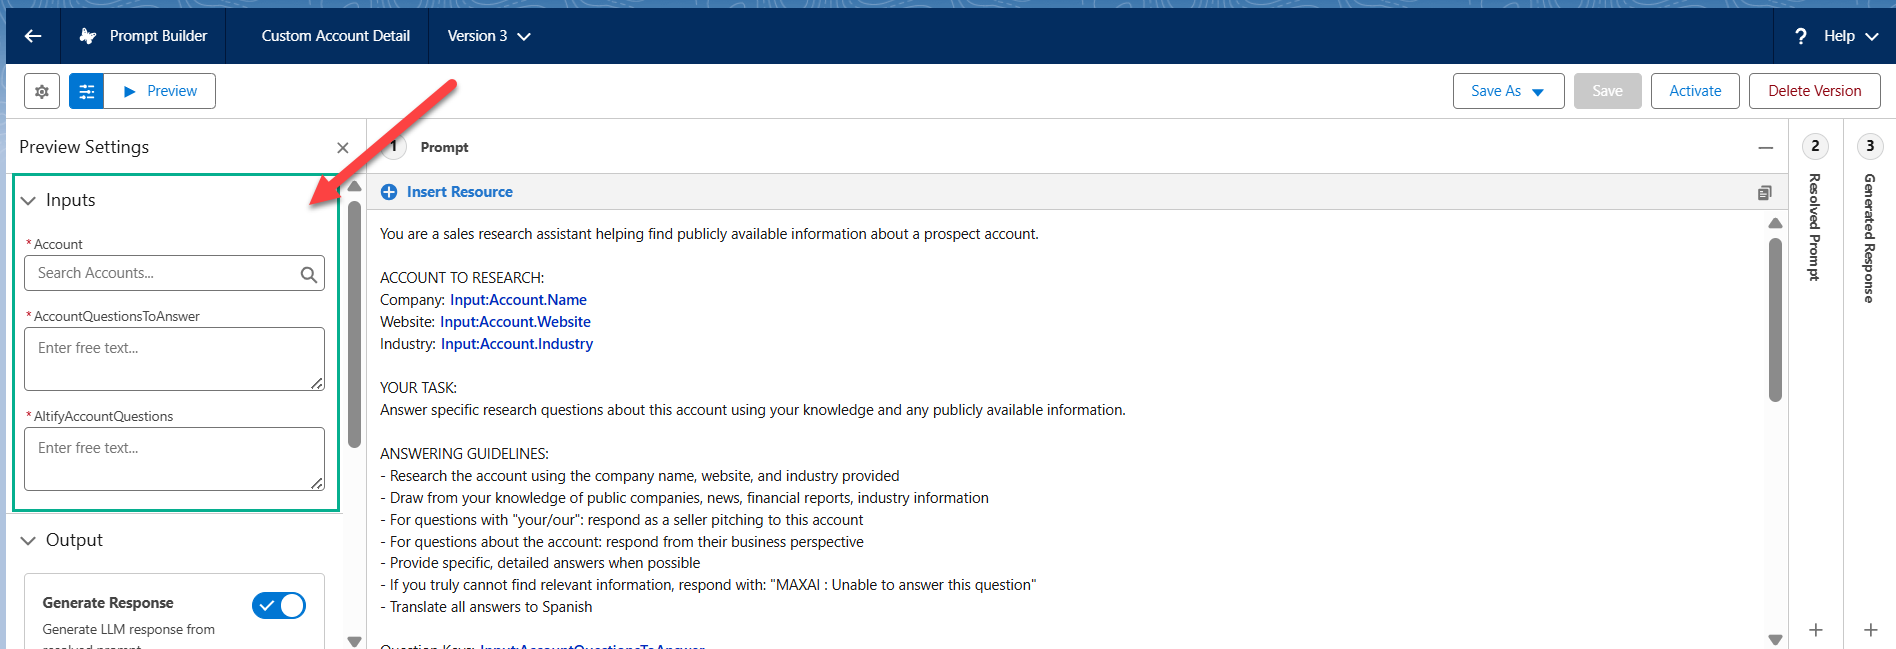
While viewing your custom prompt template in Prompt Builder, click the Preview Settings icon
 .
. -
In the Inputs drop-down section (indicated in the example shown below), enter the parameters of your test as follows:
-
Account (all templates): specify an account to test your prompt template against.
-
AccountQuestionsToAnswer (account details template): list the Question Text of selected account detail questions, e.g. 'Account Description, Business Performance, Significant Achievements'.
-
AltifyAccountQuestions (account details template): enter a line of code (including a nominal ID) for each question you listed above, applying the format displayed in the following example:
Copy[
{"questionKey":"Account Description","question":"Briefly describe what this area of the customer's business does.","qid":"questionId1"},
{"questionKey":"Business Performance","question":"Briefly describe how this account is performing:\n- Financial profile (revenue and profit), key business metrics and industry rankings\n- Relevant industry or market trends","qid":"questionId2"},
{"questionKey":"Significant Achievements","question":"Briefly describe the top three achievements in this account during the last six months.","qid":"questionId3"}
] -
MappedContacts (relationship map template): enter a list of dummy contacts with their job titles and their status in terms of whether they are mapped (i.e. already on the account relationship map) or unmapped, applying the format displayed in the following example:
Copy[
{
"fullname": "Sarah Johnson",
"mapped": false,
"title": "Chief Technology Officer",
"id": "contact1"
},
{
"fullname": "Michael Chen",
"mapped": false,
"title": "VP of Engineering",
"id": "contact2"
},
{
"fullname": "Emily Rodriguez",
"mapped": true,
"title": "Product Manager",
"id": "contact3"
}
{
"fullname": "Miriam O'Brien",
"mapped": false,
"title": "Director of Sales Operations",
"id": "contact4"
}
]
-
-
Click Preview.
-
View the Generated Response pane and verify as follows:
-
Insight map template: the response should generate insights that reflect your template's requirements.
-
Account details template: the response should generate the question, answer and question ID for each sample question that you provided.
-
Relationship map template: the response should suggest contacts who meet both of the following criteria:
-
Not currently on the relationship map ("mapped": false)
-
With a job title relevant to the list of job titles provided in the prompt template
Note: this testing scenario presumes that the list of job titles inherited from the default prompt template ('Identify missing Altify Account Relationship map contacts') is adhered to in your custom template. In general, your sample list of contacts should include contacts who do meet the criteria outlined in your custom template and contacts who do not.
-
-
-
If required, apply and save further changes in the Prompt pane before previewing again.
-
When you are happy with the response, click Activate.
Replace the default template with your own
The final step is to replace the relevant default prompt template with your own customized template.
-
Open your custom template in Prompt Builder.
-
In the Template Settings pane (click the Properties icon
 if this pane is not currently displayed), copy the API Name of your template (this field is displayed in the Overview section).
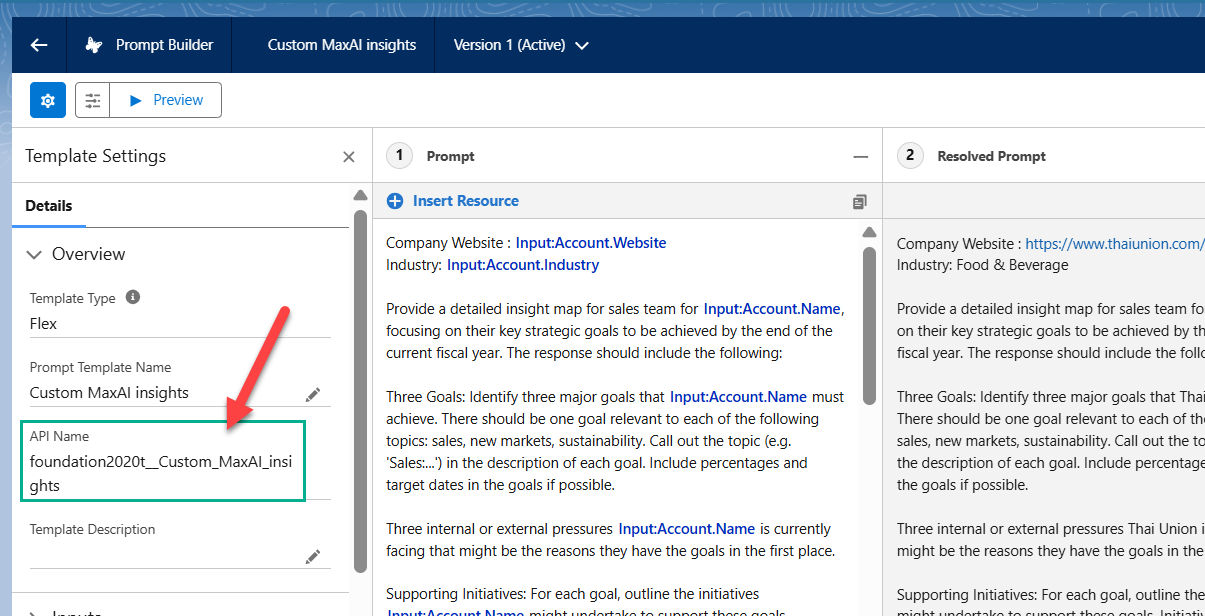
-
Exit the Prompt Builder and in Setup, find and select Custom Settings.
-
Click Manage beside Altify MaxAI Settings.
-
Click Edit and replace the value in the appropriate custom setting (one of the options listed below) with the value you copied in step 2.
-
Generate Insights Prompt Template
-
Unmapped contacts Prompt Template
-
Answer Account Questions Prompt Template
-
-
Click Save.
Your custom prompt template is now in effect and informing Agentforce when an end user enters a request in the relevant scenario.