To configure Altify so that the value of a particular field on the Opportunity object determines which sales process is automatically assigned to each opportunity, you need to take the following steps:
Note: Existing opportunities with assigned sales processes are not affected when you complete these steps. New opportunities created after the following configuration are assigned sales processes as per your mapping.
Set up a suitable field
Create an opportunity field by which opportunities will be mapped to sales processes (or, alternatively, verify that an existing field is suitable for the purpose).
- In Setup, go to the Opportunity object.
-
In Fields & Relationships, add the relevant field. It can be a picklist or a text field (e.g. a text formula field).
Or, if the field already exists (the Type picklist is available by default and is designed for this purpose), verify that the possible values are appropriate for your needs.
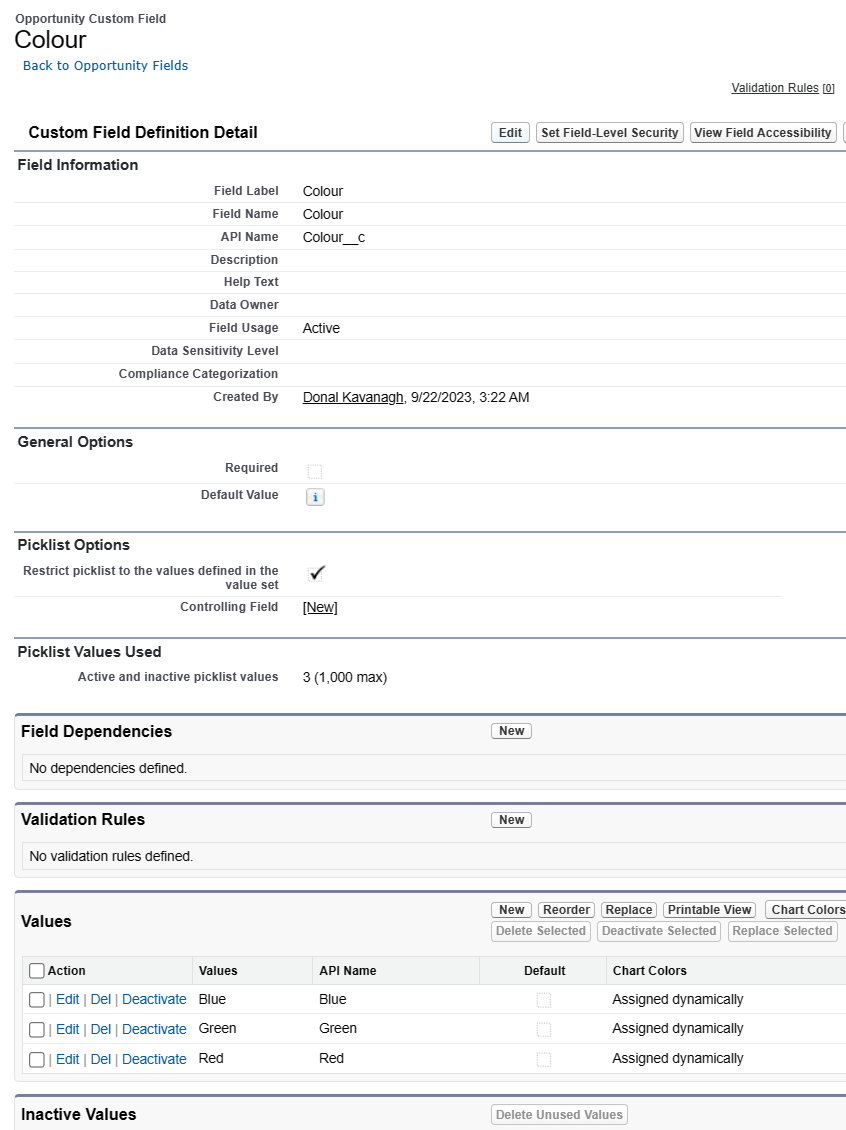
Shown below is an example of a picklist field (which is referred to in the next section: Create sales process mappings).
- Click Save.
Create sales process mappings
Next, you need to create the mappings that will match your sales processes with the values of the opportunity field outlined in the previous step.
-
Open the Altify Sales Process Mappings tab (as indicated below).

- Click the New button.
-
In the New Altify Sales Process Mapping dialog, complete the fields as follows:
- Sales Process Map Name: A unique name to identify your map
- Sales Process: the sales process that will be assigned
-
Value: one of the possible values of the opportunity field you created in the previous step. The selected Sales Process will be assigned to opportunities with this value.
Note: If you do not see the Value field, it needs to be added to the page layout of the Altify Sales Process Mapping object. For more information, see the Salesforce Help.
- Click Save.
Repeat these steps for each sales process you want to map to a possible field value. A good practice is to refer to the Sales Process and Value in your Sales Process Map Name (as shown in the example below) - this is useful for anyone who is looking for a particular mapping.

You can map multiple sales processes to a single field value.
Note: It's important to set one of your sales processes as the default so that opportunities that have an unmapped field value (or no defined field value) are still assigned a sales process. In the examples pictured above, an opportunity where Colour = 'Green' is automatically assigned the default sales process as a mapping is not created for that picklist value. If you do not have a default sales process, your users can manually assign a sales process of their choosing when their opportunity is not mapped.
Enable mapping in custom settings
To configure the software to automatically assign a sales process to an opportunity:
- In Setup, go to Custom Settings.
- Click Manage beside Altify Sales Process Settings.
- Click Edit.
- Deselect Allow Sales Process Popup.
- Select Use Sales Process Map.
-
In Process Selection Field, enter the API Name of the field on the Opportunity object that you have mapped to sales processes.
Note: For the Process Selection Field we recommend selecting a field that is either fixed (e.g. Type) or a field where the value does not usually change. We strongly advise against using Stage as the Process Selection Field as the value changes as the sales process progresses.
- Click Save.