Additional Steps for Partner User Access to Account Manager Plans
Complete the following steps to configure Account Manager plan access in your portal site:
Note: You need to have already completed the steps outlined in Account Manager Access for Partner Users before preceding with steps described in this topic.
Add the AM plan object to your portal site
-
In Setup, find and select All Sites and click Builder for the partner portal site.
-
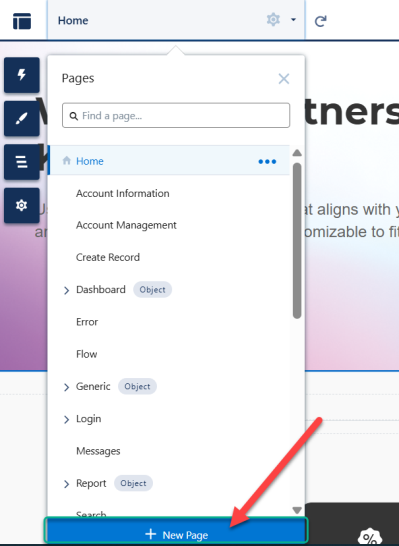
In the Home tab drop-down menu, click New Page - as shown in the example below.
-
In the New Page dialog, select Object Pages.
-
In the New Object Pages dialog, find and select 'Altify Account Manager Plan' and click Create.
You may need to click Create a second time to confirm your decision.
Configure portal site navigation
-
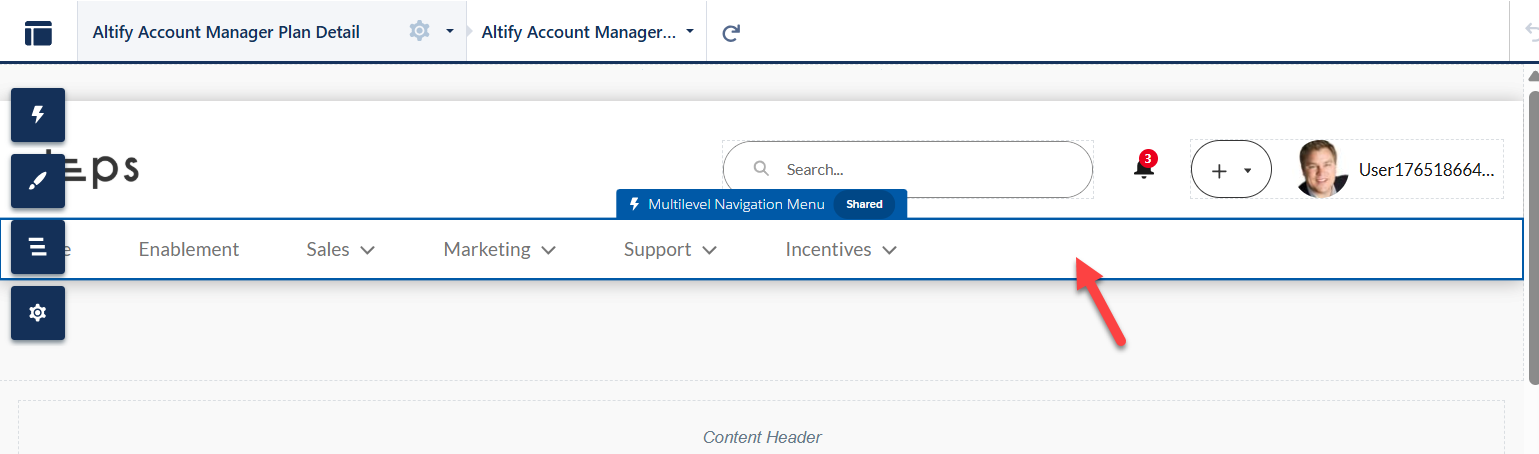
Click the Multilevel Navigation Menu (indicated in the example below).
-
In the side panel on the right-hand side, click the button Edit Default Navigation (indicated below).

-
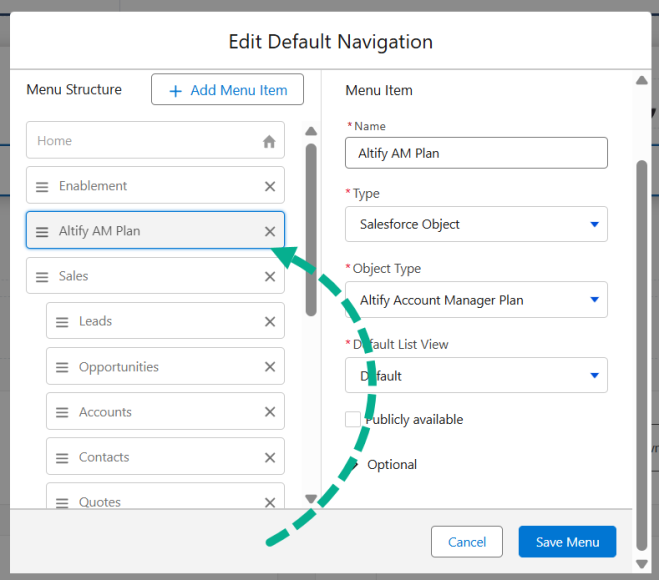
In the Edit Default Navigation dialog click + Add Menu Item and enter the following information:
-
Name: 'Altify AM Plan'
-
Type: Salesforce Object
-
Object Type: Altify Account Manager Plan
-
Default List View: Default
-
Publicly available: leave this setting unchecked
-
-
Drag and drop your new menu item to your preferred location in the navigation bar - as shown in the example below.
-
Click Save Menu.
Add the Visualforce page to allow user access
For Salesforce guidance on the following steps, see Visualforce Page Component in the Salesforce Help.
-
Click the Preview button in the upper right-hand corner of your site.
-
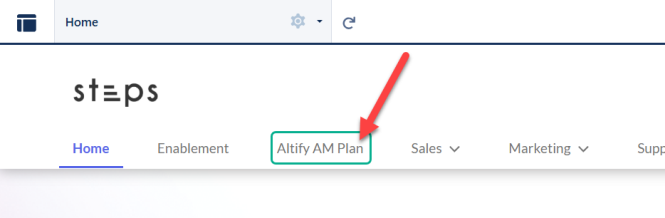
Select the new menu item you just created ('Altify AM Plan' - as shown in the example below).
-
On the Altify Account Manager Plans page, click one of the plans that is listed.
-
On the Altify Account Manager Plan page, you need to edit the page layout to add the Visualforce page that will provide access to partner users.
-
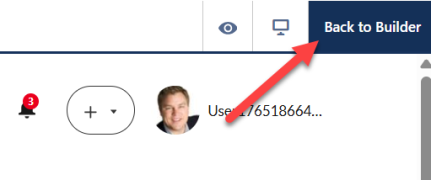
Click Back to Builder in the upper right-hand corner (if you are not already in the Builder view).
-
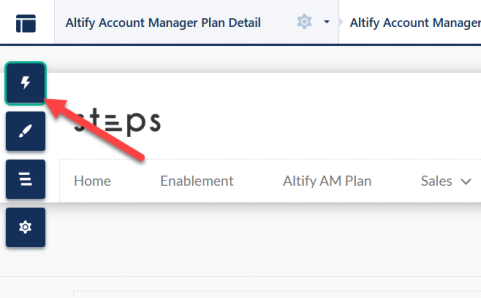
Click the Components icon in the upper left-hand corner - as shown below.
-
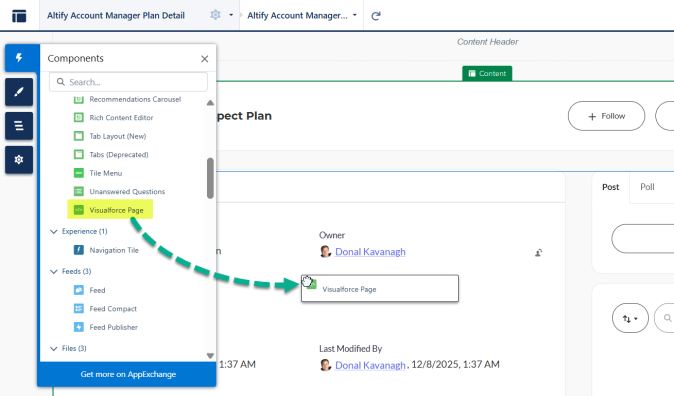
Find the Visualforce Page component and then drag and drop it to a suitable location on the page (this is where the AM Plan Overview screen will be displayed).
-
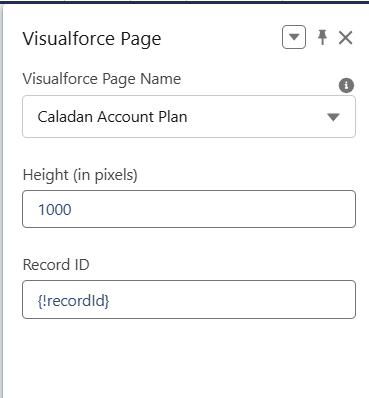
In the side panel Visualforce Page, enter the following values (as shown in the example below):
-
Visualforce Page Name: 'Caladan Account Plan'
-
Height (in pixels): '1000'
-
-
-
Publish the portal site when you are satisfied.
Note: If your partner users are exporting AM plan Executive Briefings, it is recommended that they select the PDF format. Currently there are issues with the Word format when this function is accessed via a portal site.
Ensure visibility of AM plan team members
Partner users will need to be added as team members of the Account Manager plans that they need to access. (For help with this see Team (AM Plan Set Up).)
Note: In addition, partner users will require access to the relevant accounts included in an AM plan as described previously in Account Manager Access for Partner Users.
The following tasks need to be completed to ensure that partner users, their teammates and the plan owner have visibility of each other: Update site preferences and Make the User object public.
Update site preferences
-
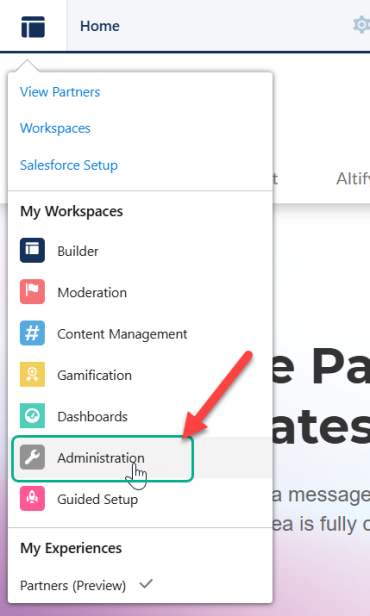
In the My Workspaces menu, select Administration - as shown in the example below.
-
On the Administration page, select Preferences in the side panel menu.
-
In the Preferences pane, enable the following custom settings:
-
See other members of this site
-
Let guest users see other members of this site
-
Make the User object public
-
In Setup, find and select Sharing Settings.
-
On the Sharing Settings page, click Edit.
-
Set the Default External Access of the User object to Public Read Only.
-
Click Save.