The Actions tab is where you maintain the ongoing list of 'to-do' actions that keeps the revenue team aligned with the opportunity plan.
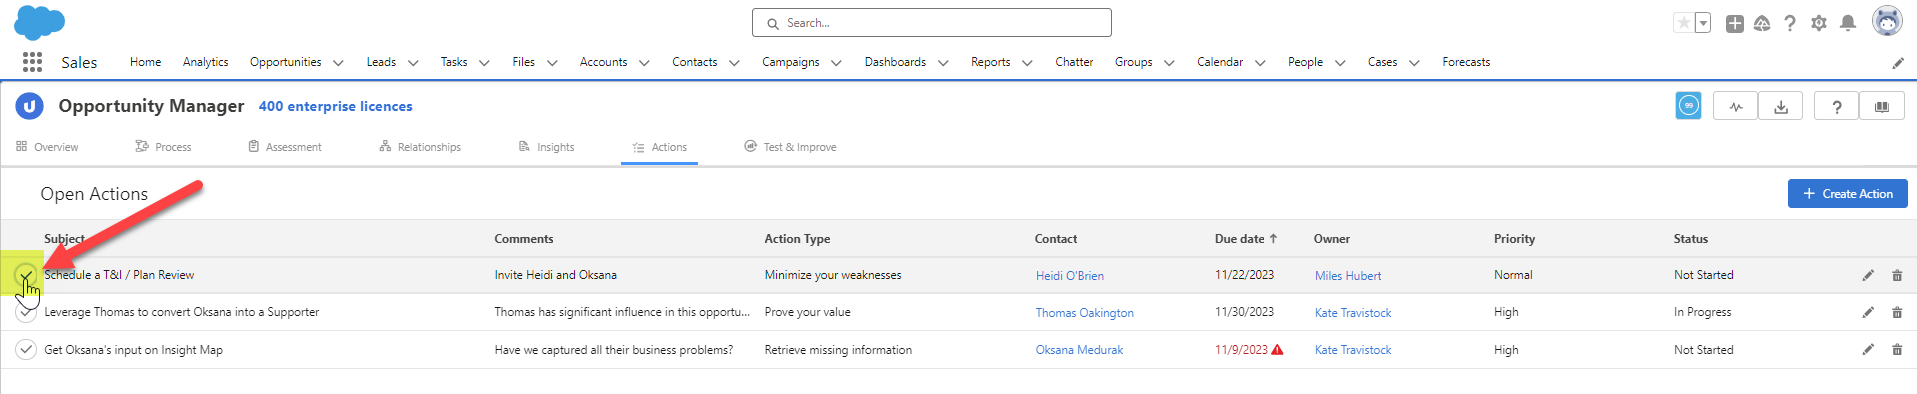
- Open Actions: these are actions the team has yet to complete. The due date for an overdue action is shown in red.
- Completed Actions: these are actions the team has completed.
Sorting the actions
Click on a column header to sort the list of actions according to that value (and click it a second time to reverse the order).
In the example below, Open Actions are sorted according to their Priority.

The Completed Actions list can also be sorted in this way.
Creating an action
To add a new action, do either of the following:
-
On the Actions tab, you can click the Create Action button (indicated below).

-
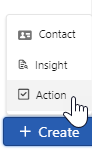
On any tab in Opportunity Manager, you can click the + Create button in the bottom right corner of the screen and then select Action (as shown in the example below).
Then specify the action's details. In line with best practice, it's mandatory to include details such as:
- Who the action is assigned to on your revenue team. (This person is notified by email that they have been assigned an action - if email notification is enabled by your administrator).
- The action's Due date.
- A PRIME Action (unless your administrator has hidden this field).
Note: a Salesforce Task record is generated for every action that you create.
If PRIME Action categories are hidden
Your administrator can hide PRIME Action categories. This means that when you add an action, it is not associated with a PRIME Action category.
As with PRIME actions, people receive an email notification when they are assigned an action (if the email notification system is enabled).
Note: If your Altify software is set to Salesforce Shield Compatibility mode, the Name field's search mechanism matches your search text against several fields, instead of just the person's name. So the results you get may be broader than would otherwise be the case.
Completing an action
All current actions are shown in the Open Actions list. To mark an action as complete, do the following:
- Click the check mark icon to the left of the action to mark it as completed - as highlighted in the example below.
- The Edit Action dialog opens with the action's Status set to Completed.
- Make any additional changes that are required and click Save.
The action is now shown in the Completed Actions list.
Reopening a completed action
If you need to reopen a completed action, click the green check mark - as shown in the example below. (The Edit Action dialog opens with the action's Status automatically set to In Progress).
