Account divisions allow you to mimic the buying structure of a large organization without the need to create and manage additional Salesforce Account records. Typically, a division is created for a smaller service unit or business unit within an account. Opportunities can be assigned to divisions, and you can apply the same level of planning as you would with an account, including relationship maps, insight maps and row details on the Plan Details tab.
Account divisions can be created on the Account Structure tab and can only be added to roll up rows in your Account Manager plan.
Note: Divisions created on the Account Structure tab are automatically added to the Account Manager plan. To create a division without immediately assigning it to an Account Manager plan, open the relevant account plan and access the Division Manager.
To create a division, do the following:
-
Click the options button
 for the relevant roll up row and select Add Division Row, as shown in the example below:
-
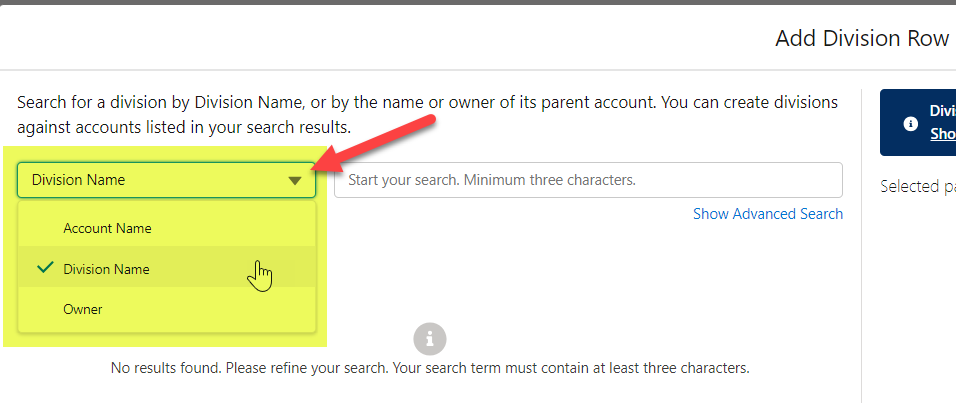
On the Add Division Row dialog, set the search filter to the required setting.
- 'Division Name' - use this option to check if the required division does not already exist. You can also create divisions against accounts that are displayed in the search results.
-
'Account Name' and 'Owner' - search for the account against which you wish to create your division.
See Using advanced search to add or create division rows if you require additional help finding an account or division in your org.
-
In the search results, click the Create Division button for the relevant account and enter the name of your new division - as indicated in steps 1 and 2 in the screen shot below (where a new division is being created for the account 'Ancaster Global').
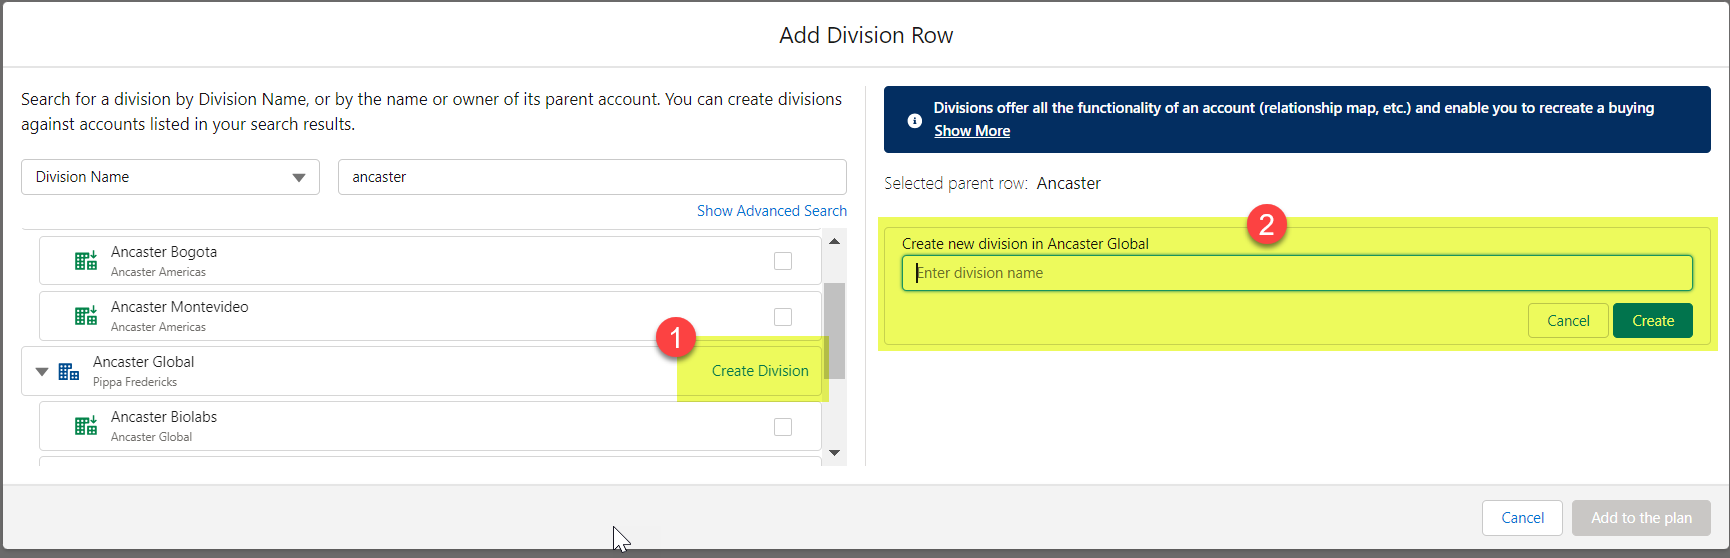
Tip: You can also create new divisions against accounts in your search results when you perform an Advanced Search of accounts. For more information, see Using advanced search to add or create division rows.
- Click Create to create your new division.
- Create or add more divisions for the roll up row as required.
-
Click Add to the plan (#) when you are happy with the divisions that you are adding to the roll up row.
The division is displayed on the Account Structure tab. You can drag and drop it to a preferred location within the roll up if required.
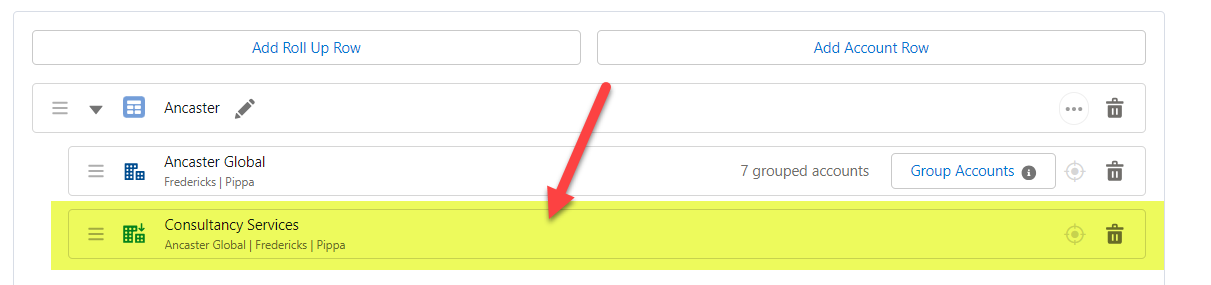
Note: Any divisions you create can be used by other users in your organization. Using the example above, a user working with another Account Manager plan will be able to add the division 'Consultancy Services'. It will also be available for Altify Account Planning.
Note: You can rename or delete an account divisions in the relevant account plan.