Preset filters offers your users a quick way of swiftly homing in on the opportunities they're interested in.
The preset filter has a specific set of filter criteria already set up and ready to be applied to the data with a single click.
For example, suppose that your company has a requirement that any opportunity above $100,000 in value and beyond the first stage should have an Altify opportunity plan created for it.
You can set up a preset filter to enable users to swiftly home in on the opportunities that meet these criteria:
-
In TeamView, click the Filter button.

- In the Filters side panel that opens, select the Quick Filters [Admin] tab.
- Click the New Quick Filter button.
- Enter the Quick Filter Name. Let's call it 'Needs Altify'.
- Add the first filter criterion's details:
- Select Amount for the first field.
- Select the logical operator greater than.
-
Enter a monetary value of '100000'.
Note: The options you get for the criterion depend on the type of field you initially select.
-
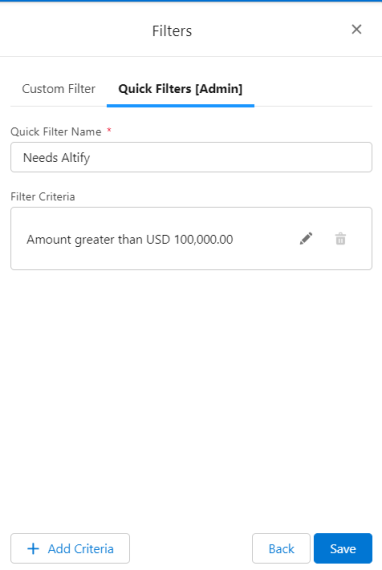
Click OK.
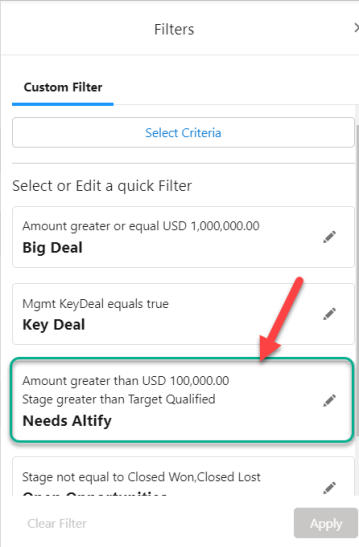
Your quick filter should look like this:
- Click + Add Criteria to add another criterion.
- Add the second criterion's details:
- The field is Stage.
- The logical operator is greater than.
-
The field value is Target Qualified.
-
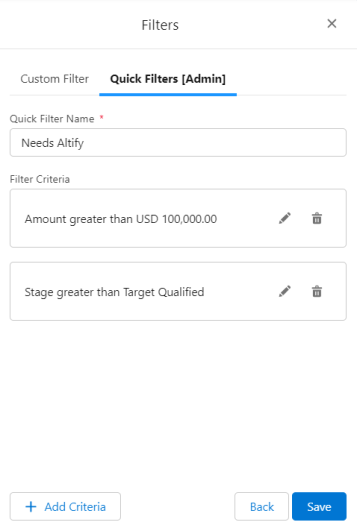
Click OK.
Your quick filter should look like this:
Note: Filter criteria that you add always combine on an
ANDbasis. - Click Save.
Tip: The fields that are available depend on which view is currently open. If you don't see all the fields you expect, make sure the right view is open.
The 'Needs Altify' filter is now available to your users in TeamView (as indicated in the example below).